Identify the wood and the sheet construction
Solid wood, veneer, plywood, engineered board and balsa are not one interchangeable stock. Grain, knots, resin, moisture, adhesive and surface finish can change edge quality, contrast, residue and process time. A label that only says “wood” does not establish what is inside a composite sheet.
Before buying, ask the supplier for the species or sheet construction and check it against the exact laser maker’s compatibility guidance. Do not process unknown, treated or coated stock on the assumption that one successful sample proves the material is safe. Keep the material information with the job record.
The maker’s current material chart is a useful starting point; for example, xTool publishes a machine-specific material table rather than a universal promise for every diode system.
Balsa cutting is not the same as fine engraving
A search for a laser cutter for balsa wood often comes from model-making or lightweight parts. For that job, compare the permitted stock thickness, machine bed, material support, cut path, kerf allowance and whether the design can be held flat. A narrow decorative line or photo-style surface engraving asks different questions from a through-cut.
Do not choose from the word “balsa” alone or assume that a device which engraves wood can cut every balsa thickness. Use a matching offcut, the exact machine’s guidance and a supervised test plan. The manufacturer’s documented material range is more useful than a generic power number.
A practical laser engraving wood tutorial
Use this planning sequence for a new design: (1) record the stock, thickness, grain direction and finish; (2) confirm that the machine maker documents the material and whether your goal is engraving or cutting; (3) size a simple test using the same offcut; (4) check focus, flatness and hold-down without entering the beam area; (5) run the test using only the maker’s procedure with the enclosure and source capture in place; and (6) inspect contrast, char, residue and dimensional fit before repeating the job.
This is a workflow checklist, not an operating recipe. Use only the settings and safety instructions supplied for the exact machine/material combination. Stop if the material is unidentified, the extraction is not working as specified, or the machine shows a fault.
Choose laser engraving ideas for wood that suit the grain
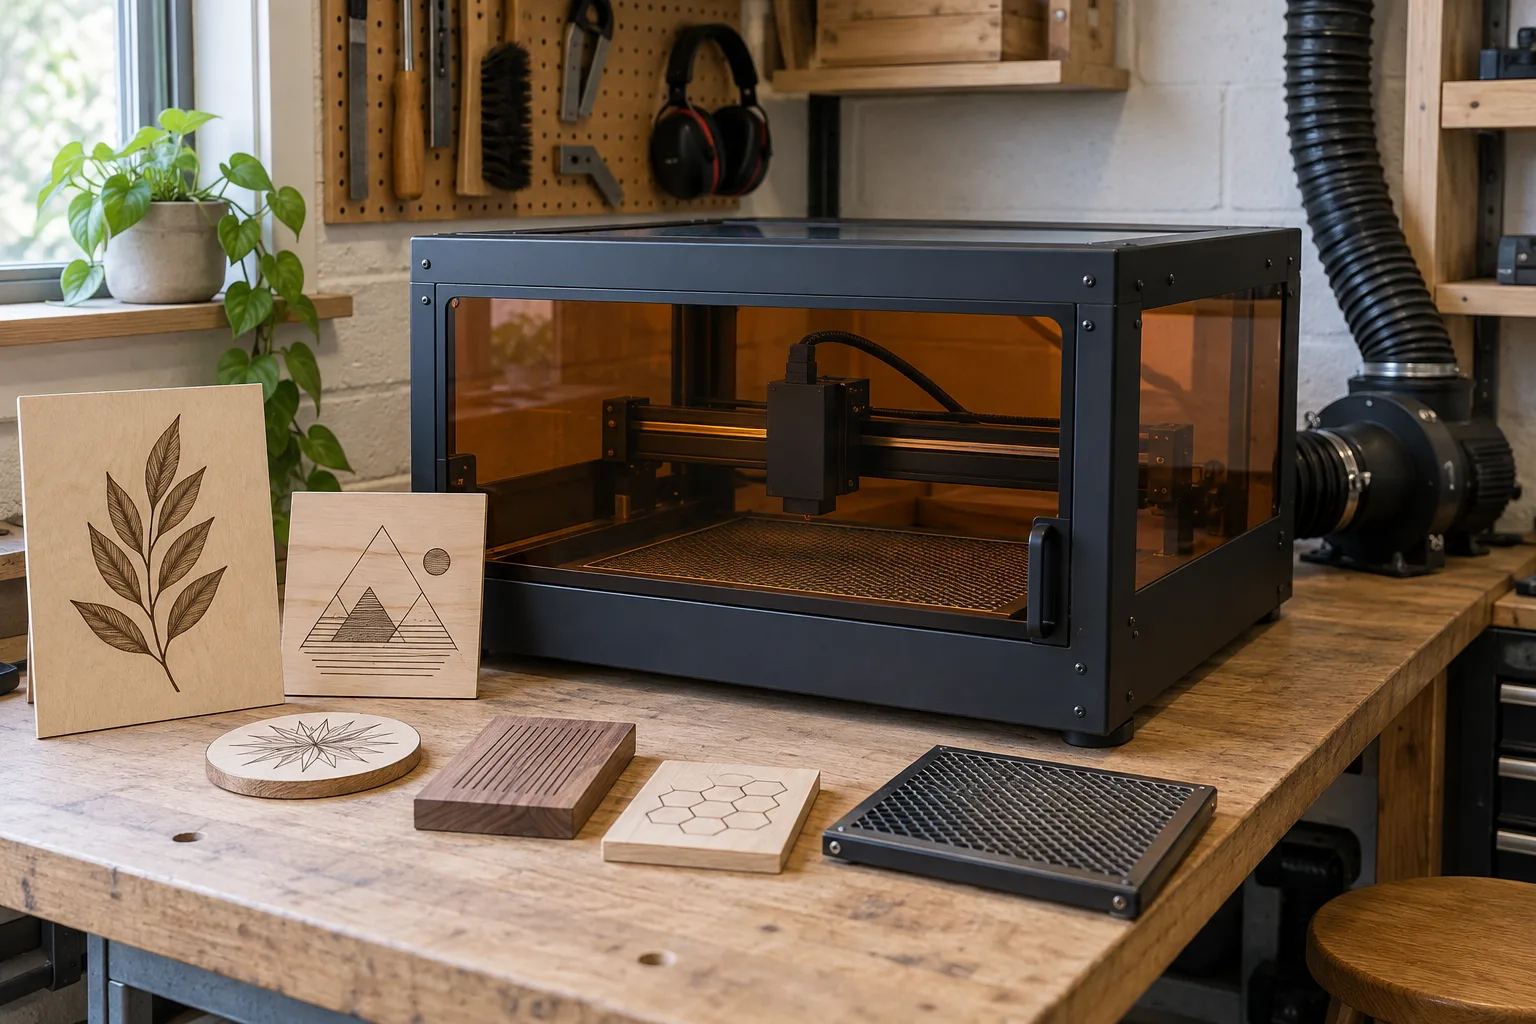
Useful laser engraving ideas for wood include a high-contrast nameplate, a small line illustration, a label set, a simple ornament, a model-part marking or a shallow layout guide. Choose a design that works with the grain rather than hiding it: large clear shapes and readable spacing are easier to inspect than tightly packed fine detail on a strongly figured surface.
Make one proof on scrap from the intended stock. Review it under the light in which the finished object will be used, then confirm that small text and thin lines remain readable. Keep customer artwork approval and the test result together if the work is repeated.
Treat smoke, fire and beam controls as part of the setup
Wood is combustible, and laser processing can produce smoke, residue and ignition hazards. Use the enclosure, guarding, interlocks, exhaust and supervision prescribed by the machine maker. Do not leave an active process unattended, and do not substitute room ventilation or a general-purpose purifier for the equipment’s specified source-capture arrangement.
Read the product labels and instructions for the actual hazard class. The FDA’s laser FAQ explains that higher classes carry greater hazards and that Class IV can include a fire hazard; OSHA’s laser-hazard resources cover hazard recognition and safeguards. For wood-selection and burn behavior, see the manufacturer’s wood processing guidance. Follow the current source documents rather than this article as an operating manual.
Wood workflow comparison
| Job | What to verify | Good first check |
|---|---|---|
| Surface engraving | Wood species, grain, contrast, flatness and detail. | Run a small proof on a matching offcut. |
| Balsa through-cut | Stock thickness, cut capability, bed support and kerf. | Check the machine’s documented range and fit a test piece. |
| Plywood or composite | Veneer, core, glue, coating and supplier information. | Confirm the exact sheet with the machine maker. |
| Repeat designs | Fixture, file version, extraction and inspection. | Record a repeatable job sheet and proof. |
Before you compare machines
- Name the species or sheet construction and thickness.
- Decide whether the project is surface engraving or through-cutting.
- Test representative scrap with the manufacturer’s documented process.
- Use the prescribed enclosure, extraction, safeguards and active supervision.
Questions worth answering first
Can a diode laser cut balsa wood?
Some diode systems document cutting specific wood stock, including particular balsa materials, but the result depends on the exact model, thickness and machine guidance. Check the maker’s material table and test a matching offcut.
What wood is best for diode laser engraving?
There is no universal best stock. Choose a known species or sheet, consistent finish and grain that supports the contrast and detail you need, then verify it against the machine maker’s current material guidance.
Can I use a generic laser engraving wood tutorial as machine settings?
No. A planning sequence can help you identify and test the material, but operating settings and safety procedures must come from the exact machine and material documentation.