Cup engraving looks simple until the cylinder rolls, the wall tapers, the handle enters the work envelope or the surface turns out to be a coating rather than bare metal.
Updated 2026-10-05 · US / English · Buying guide
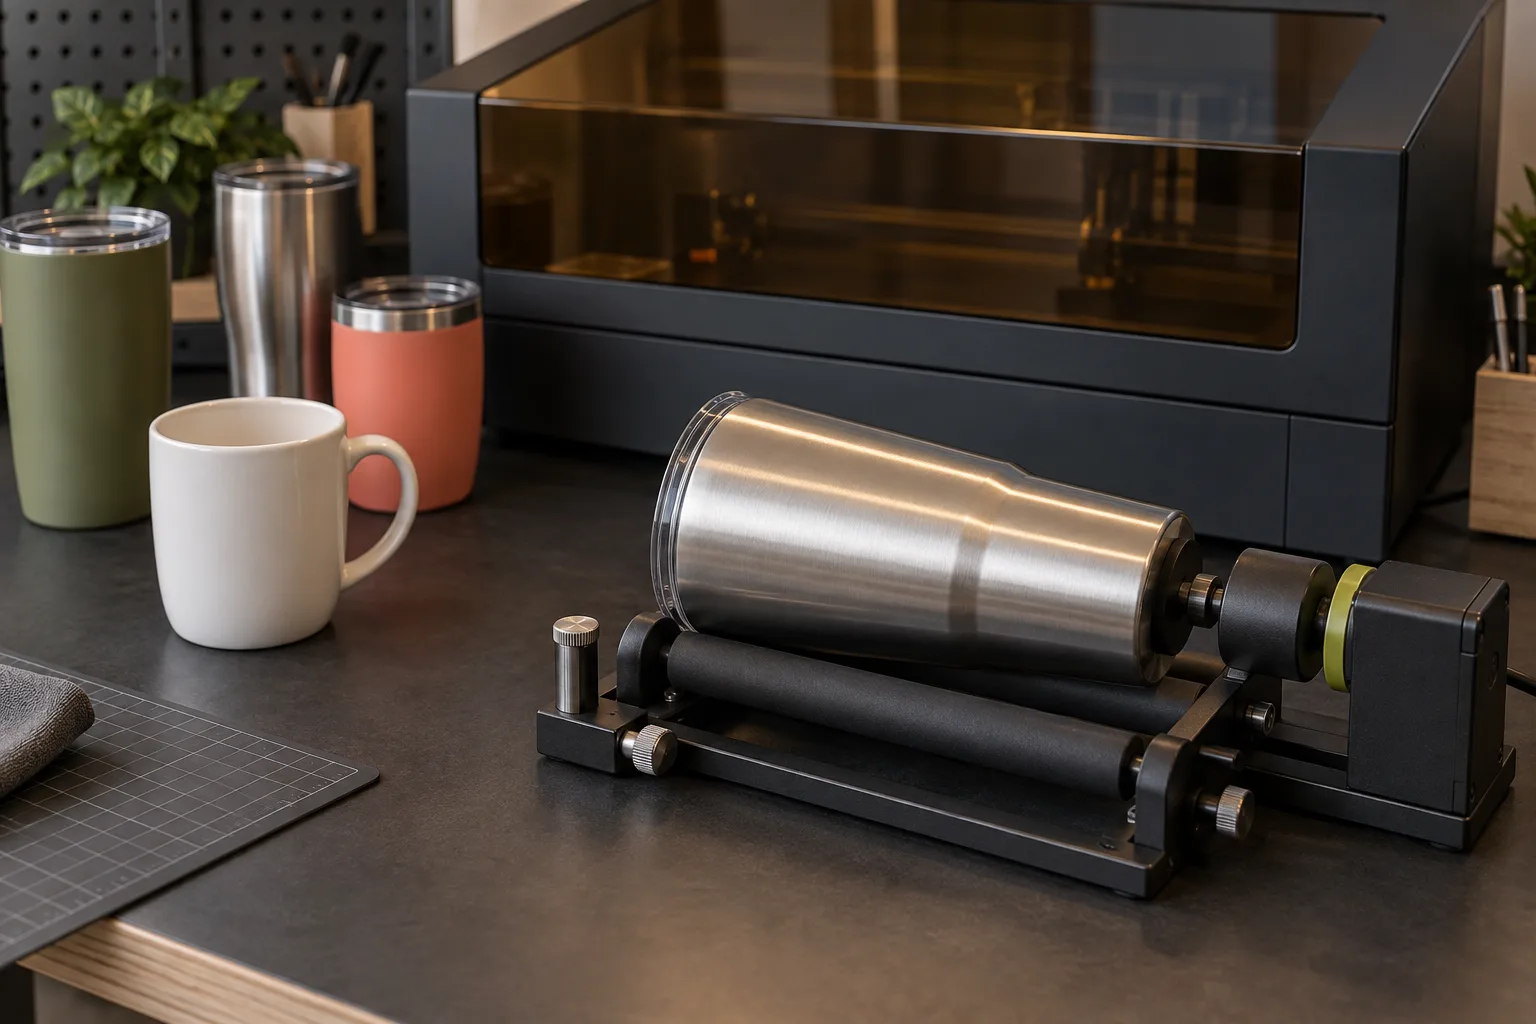
Short answer: A cup engraver is usually a laser engraver paired with a rotary attachment that turns the cup under the beam. To choose one, start with the cup surface. Powder-coated tumblers, bare stainless, anodized aluminum, glass and glazed ceramic each call for a laser source the machine maker documents for that surface. Next, pick a rotary that fits the cup: rollers for straight tumblers, a chuck for handled or tapered mugs. Finally, confirm the diameter range, handle clearance and fume extraction. Buy the complete workflow, not just the laser head.
Looking for settings? This page is about choosing a cup engraving setup. For building a safe parameter test on a specific tumbler, see laser engraver settings for tumblers.
What counts as a “cup engraver”?
Most people searching for a cup engraver mean one of three setups:
- Desktop diode or CO2 laser + rotary. This is the most common small-shop and Etsy setup for coated tumblers, wood, acrylic and (with CO2) glass.
- Fiber laser (usually galvo) + rotary. Shops use this for marking bare or coated metal drinkware at higher throughput.
- Mechanical engravers. Rotary-tool or diamond-drag engraving and CNC. These are not covered here, but the same fit questions (diameter, taper, handle) apply.
Whichever you choose, the rotary, the cup and the extraction plan decide more of the result than the headline wattage. See what wattage does and does not tell you.
Match the laser source to the cup surface
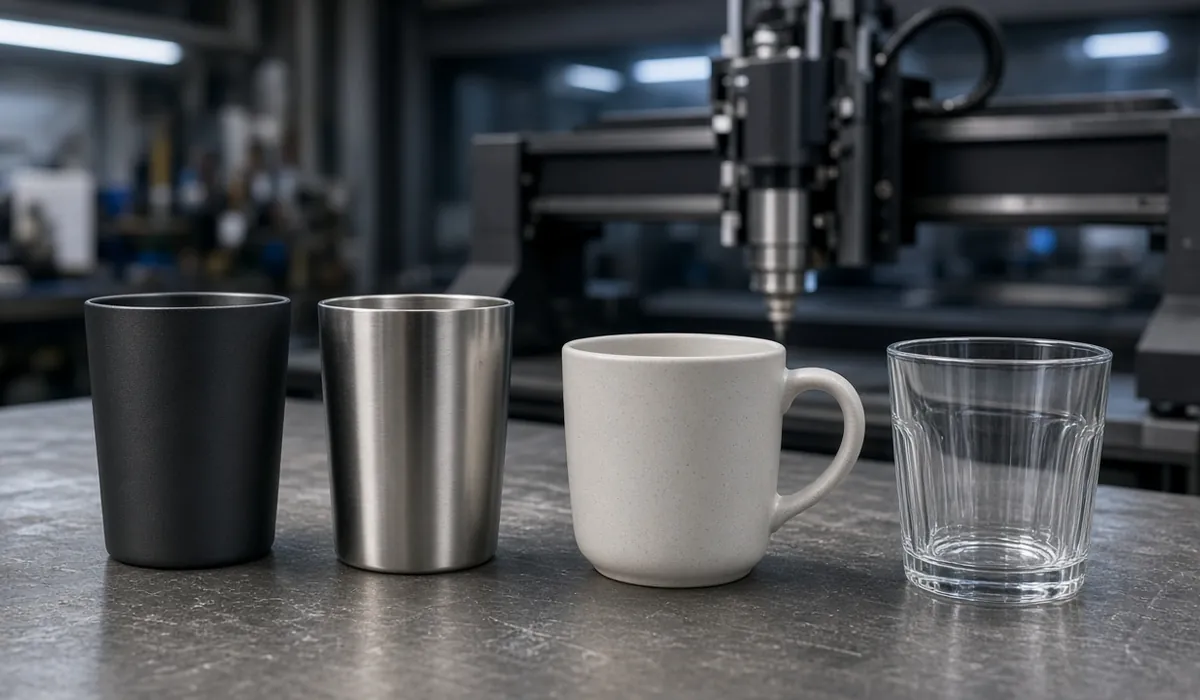
| Cup surface | Commonly used source | Check before buying |
|---|---|---|
| Powder-coated stainless tumbler | Diode, CO2 or fiber (the mark comes from removing or changing the coating) | Coating type and the maker’s documented process |
| Bare stainless steel | Fiber marking | Rotary support for galvo heads, focus depth across the curve. See laser engraver for stainless steel |
| Anodized aluminum | Fiber; some makers document diode or CO2 | Anodized vs painted finish. See engraving aluminum with a diode laser |
| Glass | CO2 (frosted look) | Diode use only with maker guidance; cracking risk. See how to laser engrave on glass |
| Glazed ceramic mug | CO2, or a marking compound per maker | Glaze type and the food-contact area. See can you laser engrave ceramic? |
| Wood, bamboo, acrylic | CO2 or diode | Material ID and fumes; never PVC or unknown plastics. See laser engraver for plastic |
Identify what is actually being marked
A stainless tumbler with a colored coating, a glazed ceramic mug, a glass cup and a bare metal vessel are different jobs. On many cups, the visible result comes from removing or changing a coating rather than cutting into the cup wall. That affects contrast, cleanup, durability and the material guidance you need.
Confirm the cup’s material and surface treatment with the supplier. If the cup is food-contact equipment, keep the mark location and finishing process within the product maker’s guidance. Don’t assume a decorative result is automatically suitable for an area that touches food or drink.
For a laser engraving machine for metal tumblers, verify whether the exact tumbler is bare, coated or anodized, and whether the machine maker documents that finish. A fiber marking process for bare stainless and a rotary setup for coated drinkware are not interchangeable. Use the sample and support guidance for the specific cup.
Roller vs chuck rotary: the center of a cup engraver
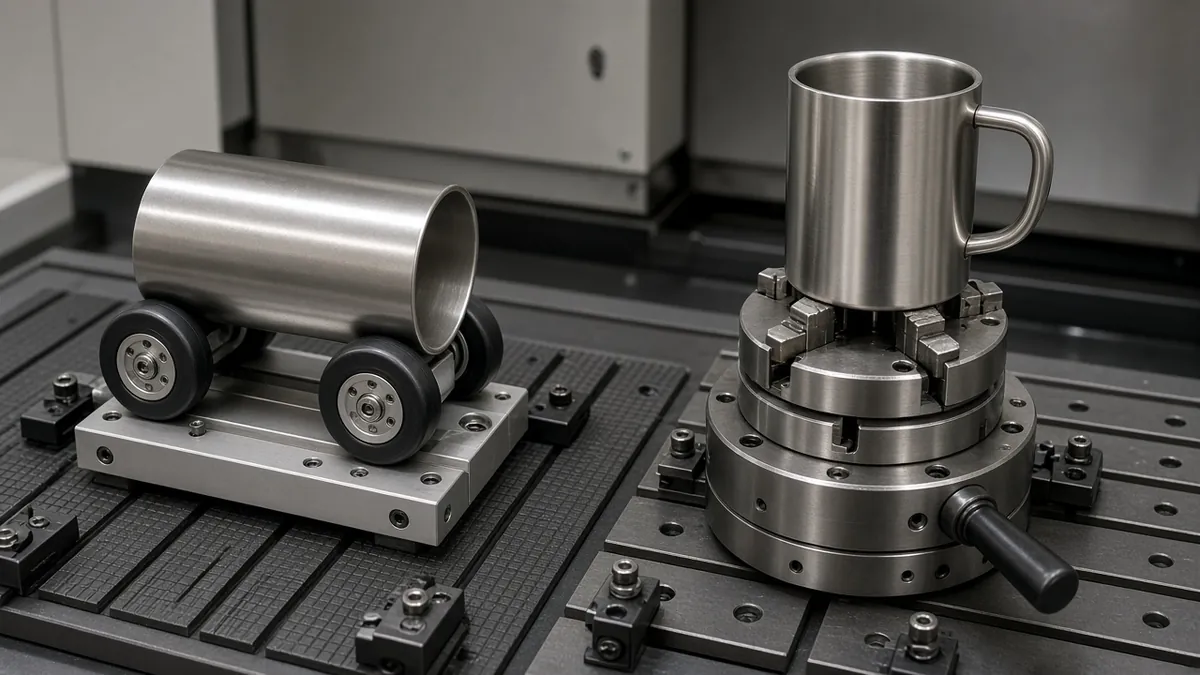
A rotary attachment turns a cylindrical or tapered cup so that the surface keeps moving through the focus point. The two common designs behave differently:
- Roller rotary. The cup rests on driven rollers. It is quick to load and works well for straight-walled tumblers. Light, tapered or handled cups can slip or sit unevenly, so check whether the rollers can be adjusted or tilted for taper.
- Chuck rotary. Jaws grip the cup’s rim or base, so handled mugs and tapered cups are held more securely. Expect more setup per cup, and check the jaw range against your smallest and largest cups.
For either type, check the usable diameter range, maximum cup length and weight, and drive contact, and confirm that the attachment connects to your controller and software. A cup may fit between the rollers and still fail because its taper slips or its handle hits the frame. The accessories guide covers rotary and fixture options in more detail.
Repeatability matters more than one good cup
The useful test isn’t whether one blank turns once. It’s whether the same logo lands in the same place on a series of cups without manual nudging. Use an index mark or a stop, and measure the area around the handle and the highest point of the lid or rim before you finalize the setup. If you plan to align art visually, see the trade-offs in laser engravers with a camera.
Taper changes the artwork
A tapered cup does not have the same circumference from top to bottom. A wide horizontal logo may stretch or drift if the software and rotary setup don’t account for the changing diameter. Keep early test artwork small and simple. A bold icon, a short wordmark or a registration grid shows distortion faster than a dense illustration. The laser engraver test file guide shows how to build one.
Plan the artwork on the usable straight wall. Avoid the handle, seam, and the curve where the cup transitions into the base. If the cup family changes, remeasure instead of reusing the same rotary setting out of habit.
Build extraction and cleanup into the setup
Coatings, glaze and marking residue belong in the extraction plan. Use the enclosure and source capture recommended for the machine and material, and keep the operator away from the exhaust outlet. A fan pointed across an open cup is not the same as controlled capture. See laser engraver exhaust systems and exhaust vs room air.
Write down the cup model, diameter, rotary position, artwork size and cleanup step. That short job sheet keeps a successful one-off from turning into a routine you can’t repeat.
Cup engraver checklist
| Check | Failure it prevents | Useful note |
|---|---|---|
| Material and coating | Wrong contrast or unsafe fumes | Name the substrate and finish |
| Laser source documented for that surface | Buying a machine that can’t mark your cups | Ask the maker for a sample or documentation |
| Diameter and taper | Slipping, distortion or uneven focus | Measure the exact cup family |
| Roller vs chuck | Handled or tapered cups slipping | Chuck for handles, rollers for straight tumblers |
| Handle and rim clearance | Collision with rollers, frame or head | Measure the largest protrusion |
| Rotary connection | An attachment the controller can’t drive | Confirm the controller port and software support |
| Rotary repeatability | Logos landing at different heights | Use an index mark and a test series |
| Extraction | Residue and fumes in the room | Source capture sized for the enclosure |
Before you compare machines
- Check the cup material, coating and intended contact area.
- Measure diameter, taper, height, handle and lid clearance.
- Decide between roller and chuck for your main cup family.
- Confirm the rotary attachment’s connection and usable range.
- Test a simple mark on the exact cup before preparing a dense design.
Ready to shop? See our picks for the best laser engraver for tumblers, matched by tumbler surface and rotary type.
FAQ
What is a cup engraver?
It is usually a laser engraver combined with a rotary attachment that turns the cup under the beam so you can mark around a curved surface. Mechanical rotary-tool and CNC engravers exist too, but lasers with rotaries are the most common setup for tumblers and mugs.
What kind of laser do I need to engrave cups?
It depends on the cup surface. Coated tumblers are commonly marked with diode, CO2 or fiber lasers. Bare stainless steel usually needs a fiber laser, and glass is typically done with CO2. Always confirm that the machine maker documents your exact cup finish.
Do I need a rotary attachment to engrave cups?
For cylindrical cups, a rotary setup is usually the practical way to keep the surface aligned with the focus point. The attachment must still fit the cup’s diameter, taper, length and handle.
Roller or chuck rotary for cups?
Roller rotaries are quick for straight-walled tumblers. Chuck rotaries grip the rim or base and generally handle mugs with handles and tapered cups more securely, at the cost of more setup per cup.
Can one laser engraver handle every tumbler?
No. Cup shapes, coatings, diameters and handles vary. Choose the complete machine-plus-rotary workflow and test the exact vessel family.
Can I engrave inside a cup?
Treat the inside as a separate safety and material question. Follow the vessel and machine manufacturer’s guidance. A decorative workflow on the outside does not automatically make it OK to mark the inside.
Make the shortlist fit the workshop
Keep the cup material, rotary type, capture path and usable work area in the same note. Then use the related guides to close the gaps before a product page makes the decision for you.
More on the setup: Laser engraver accessories · Laser engraver exhaust system · 50W laser engraver · Best fiber laser engraver for metal · Settings for tumblers
Editorial note: we organize the decisions and point to what must be verified. We do not invent product tests, prices, settings or availability.