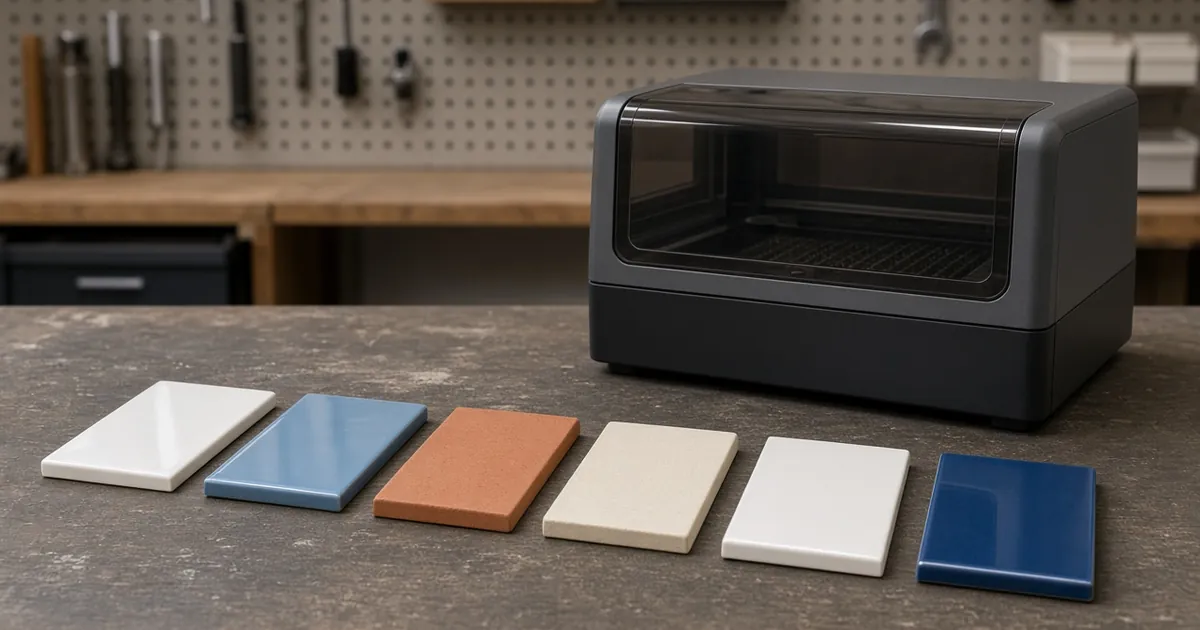
What “engraving ceramic” can mean
People say engrave for several different results, and they aren’t interchangeable:
| Result | What happens | Typical description |
|---|---|---|
| Surface marking | Color or texture change on the top layer, little or no depth | Frosted or lighter area on a glaze |
| Coating mark | A layer on top is removed or fused, the ceramic underneath barely changes | Dark mark from a marking compound, or paint ablated off |
| Engraving | Material is actually removed, leaving depth | Shallow recess, usually rougher |
Wikipedia’s laser-engraving overview makes the same split: engraving removes material, while laser marking covers color change, charring, foaming, melting and ablation. Decide which one you need before you choose a process.
Glazed vs bisque (unglazed) ceramic
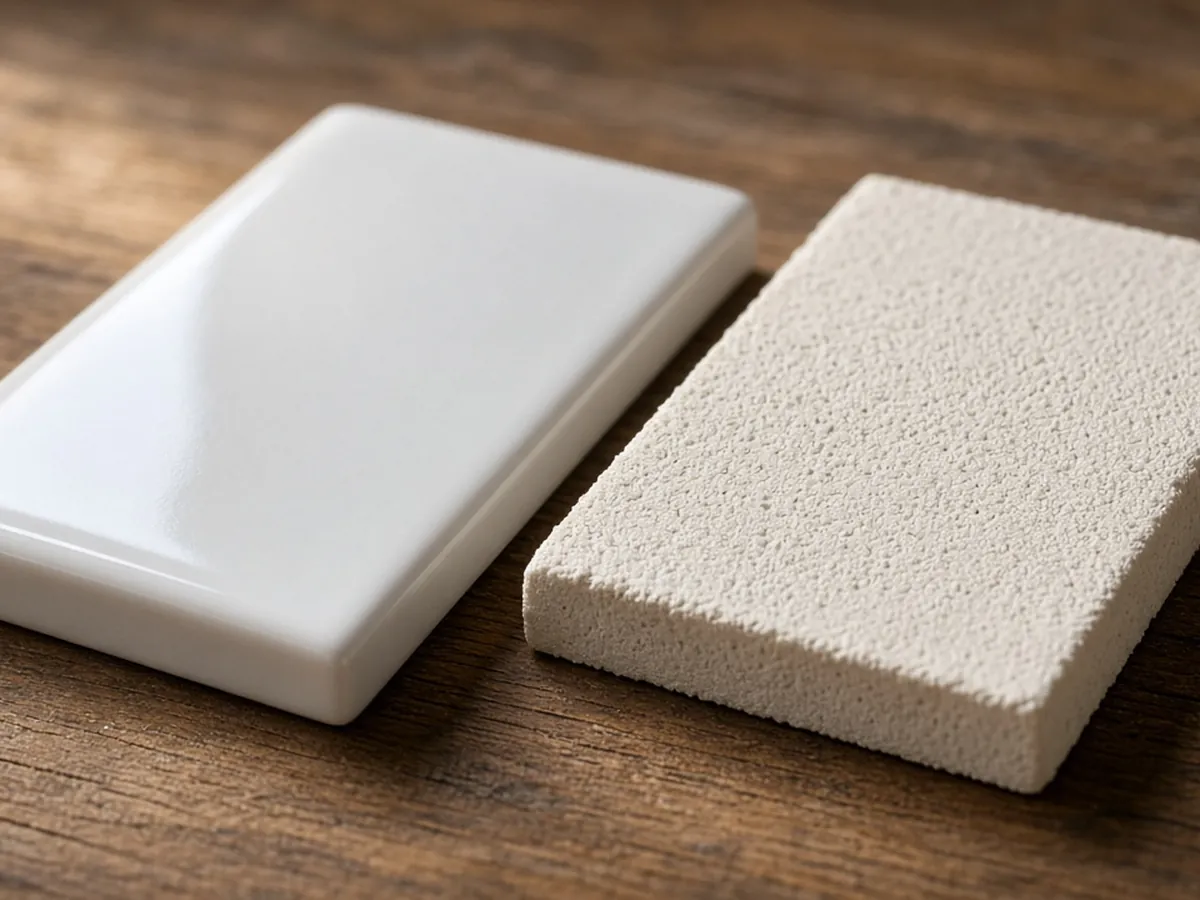
Glazed ceramic
A glaze is a thin, glass-like coating fused onto the clay body in a kiln (the FDA describes it this way in its pottery guidance). That matters because glass and similar surfaces don’t vaporize or melt easily under a laser; Wikipedia notes that when a laser hits glass or stone, the surface tends to fracture into microscopic chips as the heated spot expands faster than its surroundings. On a glazed tile, that can mean:
- a frosted, uneven mark rather than a clean, dark line;
- chipping or crazing at the edges of the mark;
- large fill areas that look patchy, the same problem Wikipedia flags for glass fills.
If you’ve worked with glass, the logic in our guide on how to laser engrave on glass transfers well: small areas, controlled heat and same-batch samples.
Bisque and unglazed ceramic
Bisque (fired but unglazed) and other unglazed bodies are porous and matte, closer to stone than glass. A laser may produce a light texture or color change, but the result depends on the clay body and is often low-contrast. Porous surfaces can also hold dust and residue, so plan cleanup before you start. The material-identification approach in our laser engraver for stone guide is a useful parallel.
Decorated, painted or “mystery” ceramic
Many tiles and mugs carry decals, paints, sealers or adhesives on top of the glaze. The laser then interacts with that layer first, which changes both the mark and the fumes. Identify the whole stack, not just the word “ceramic.”
What diode, CO2 and fiber lasers can and can’t do
Laser type matters because each wavelength couples differently with a surface. OSHA’s laser-hazards chapter lists CO2 lasers at 10.6 µm (far infrared) and Nd:YAG at 1.064 µm (near infrared); fiber lasers used for marking emit at roughly 1,000 nm, and hobby diode engravers are typically visible blue light. Treat this table as general orientation, not a promise for your machine:
| Laser type | Wavelength region | General limits on ceramic |
|---|---|---|
| Diode (desktop hobby) | Visible (usually blue) | Low power; often weak or no mark on glossy white glaze; tends to work on coatings or dark marking compounds rather than bare glaze. Check the maker’s material list. |
| CO2 | Far infrared (10.6 µm) | Glass-like surfaces absorb this region, so glaze can be marked, but the mechanism is often micro-fracturing; risk of chips and cracks with too much heat. |
| Fiber | Near infrared (~1 µm) | Built mainly for metals; Wikipedia notes these wavelengths are better absorbed by most metals. On ceramic, results vary widely by glaze and pigment; often used with coatings. |
Two takeaways:
- Don’t copy settings across machines. A power/speed value from one laser, lens or wavelength doesn’t transfer to another.
- Don’t compensate for a weak mark with more energy. Repeated high-power passes are how glazes crack and coatings burn.
Marking coatings: fusing a mark onto the surface
A widely used technique is a laser marking coating (sprays, pastes or tapes). Wikipedia describes these as coatings that are “visible to the laser light,” which fuse the coating to the substrate where the beam passes; they’re used on metals and also on optically invisible or reflective surfaces such as glass. The general workflow:
- Clean the surface so the coating bonds evenly.
- Apply a thin, even layer following the coating maker’s instructions.
- Let it dry fully, as directed.
- Run the job inside the enclosure with extraction on.
- Wash off the unfused coating as the maker instructs, then inspect.
Coatings have their own chemistry and fumes. Read the coating’s safety data sheet and the laser maker’s guidance before you use one, and confirm the coating is compatible with your laser type. This page doesn’t name or rank coating products.
Safety: ventilation, dust, eye protection and lead
Ventilation and fumes
Laser processing produces particles and fumes from the target and any coating. OSHA’s technical manual says adequate ventilation shall be installed to reduce fumes and vapors from laser cutting and other target interactions to below applicable exposure limits. Use source capture through an enclosure and exhaust, not a room fan. See our laser engraver exhaust system and ventilation guides for setup.
Dust and chips
Fractured glaze makes fine particles and sharp micro-chips. Let the piece cool, wipe or wash it as the material allows, and clean the bed so debris doesn’t build up. Don’t blow dust around with compressed air in an open room.
Eye protection and enclosure
OSHA notes that laser eyewear must be labeled with the optical density (OD) and the wavelengths it protects against, and that eyewear should back up engineering controls, not replace them. Keep the enclosure closed and interlocks working. Glossy glaze can reflect, so never run an open-frame machine without the eyewear its maker specifies.
Lead in glazes and food-contact pieces
According to the FDA, lead may be present in the glazes or decorations of some pottery, especially pieces that are handmade or crude, antique, damaged or worn, from unknown sources, or brightly decorated in orange, red or yellow. That raises two cautions:
- Don’t laser unknown or antique glazes. Heating and fracturing a glaze can release what’s in it.
- If a mug, plate or bowl will touch food or drink, disturbing the glaze changes the food-contact surface. Keep marks away from lips, rims and interiors, and check the maker’s guidance.
Test grid: how to find a working process
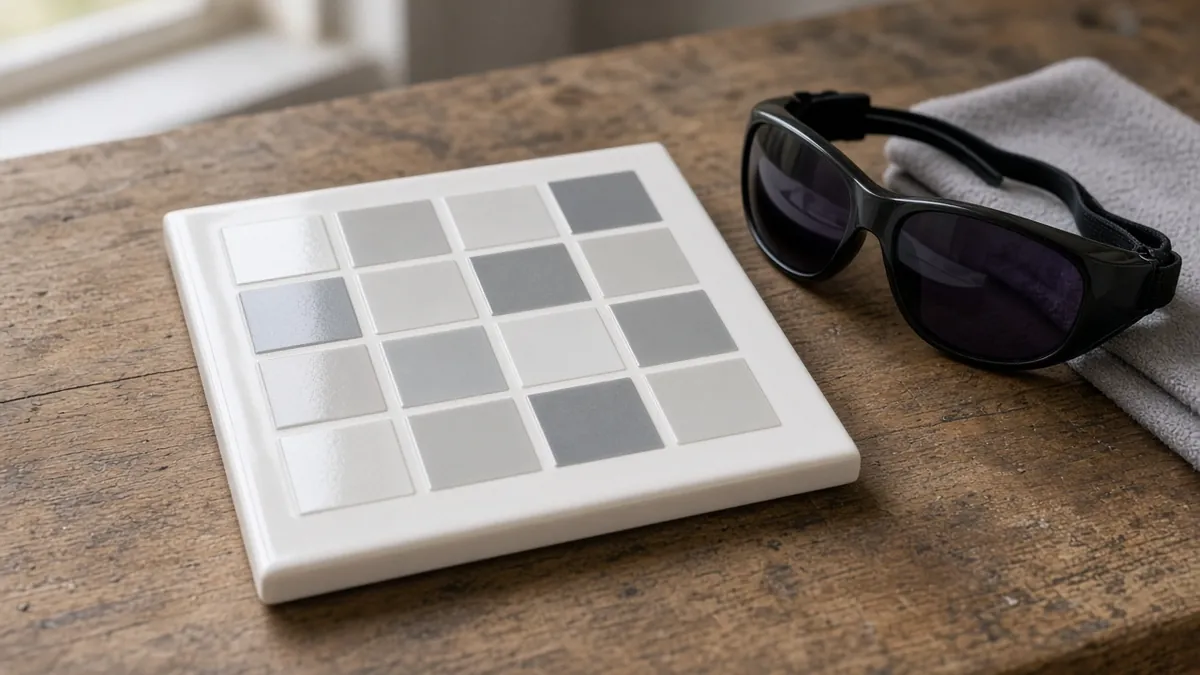
A test grid answers one question at a time on a scrap of the exact same material. Our laser engraver test file guide covers the general method; here’s how to adapt it for ceramic:
- Use a same-batch offcut or a spare tile from the same box. Never test on the finished piece.
- Start from the machine maker’s documented starting point for ceramic or glass, or for your coating.
- Make a small grid of squares (for example, a few rows by a few columns), varying one setting per axis (for instance, speed across, power down), keeping focus, line interval and passes fixed.
- Leave gaps between squares so heat from one cell doesn’t affect the next.
- Label the grid outside the laser (pencil on the back, or a note photo), not by engraving labels.
- Inspect after cooling under consistent light: contrast, edge sharpness, chips, crazing, flaking. Check again after washing.
- Record everything: material and batch, laser and lens, focus, fixture, coating, the winning cell’s settings, and any damage.
| Record | What to note | Why it matters |
|---|---|---|
| Piece identity | Maker, product, batch, body, glaze, coating | Surface chemistry and finish change the outcome |
| Laser setup | Model, wavelength, lens, focus, fixture | A process on one system may not transfer |
| Safeguards | Enclosure, interlocks, exhaust | Must stay within the maker’s safety requirements |
| Result | Mark quality, damage, cleanup | Appearance alone isn’t enough if the glaze cracks |
Fixturing tips
- Support flat tiles fully so they don’t rock; uneven support changes focus across the tile.
- Use the machine’s focus method on the actual surface height, not the bed.
- Curved pieces such as mugs need a different setup; see laser engraver for cups.
If you can’t find a documented compatible process or a safe extraction path, use a non-laser method instead, or ask the material and machine makers.
Ceramic laser engraving FAQ
Can you laser engrave ceramic tile?
Some ceramic tiles can be laser-marked or lightly engraved using a process documented for that tile finish and laser. Results vary by body, glaze, coating and machine, so test a matching offcut rather than relying on a universal preset.
Can a diode laser engrave ceramic?
Sometimes, mostly via coatings. Low-power hobby diode lasers often leave little or no mark on glossy white glaze; many workflows use a dark marking coating or a coated blank. Check the exact machine’s material guidance first.
Can you laser engrave glazed ceramic?
A glaze is glass-like, so the laser tends to frost or fracture it rather than burn a dark line. It can work, but it can also chip or crack. Treat each glaze as a separate material and stop if the surface is damaged.
Do I need a coating to laser mark ceramic?
Not always, but it’s a common technique when you want a dark, high-contrast mark. A laser marking coating fuses onto the surface where the beam passes. Check its safety data and compatibility with your laser.
Is laser engraving ceramic mugs food safe?
Disturbing a glaze changes the food-contact surface, and the FDA notes some glazes and decorations can contain lead. Keep marks off rims and interiors, avoid unknown or antique glazes, and follow the maker’s guidance.
What's the difference between laser engraving and laser marking ceramic?
Engraving removes material and leaves depth. Marking changes color or texture, or fuses a coating, with little or no depth. Most ceramic work is marking.
Are ceramic laser settings universal?
No. Machine, wavelength, lens, focus, coating, glaze, thickness and desired result all change the process. Use a documented model-specific starting point and a test grid.
Sources
- OSHA Technical Manual, Section III, Chapter 6: Laser Hazards: CO2 and Nd:YAG wavelengths, ventilation for target-interaction fumes, eyewear labeled with OD and wavelength, enclosures.
- FDA, Questions and Answers on Lead-Glazed Traditional Pottery: glaze as fused glass-like coating; lead in some glazes and decorations; problem types.
- Wikipedia, Laser engraving: engraving vs marking, glass/stone fracturing, fiber vs CO2 absorption on metals, laser marking spray coatings.
- FDA, Consumer safety alert: internet sales of laser products (carried over from live page; enclosure and safeguards).