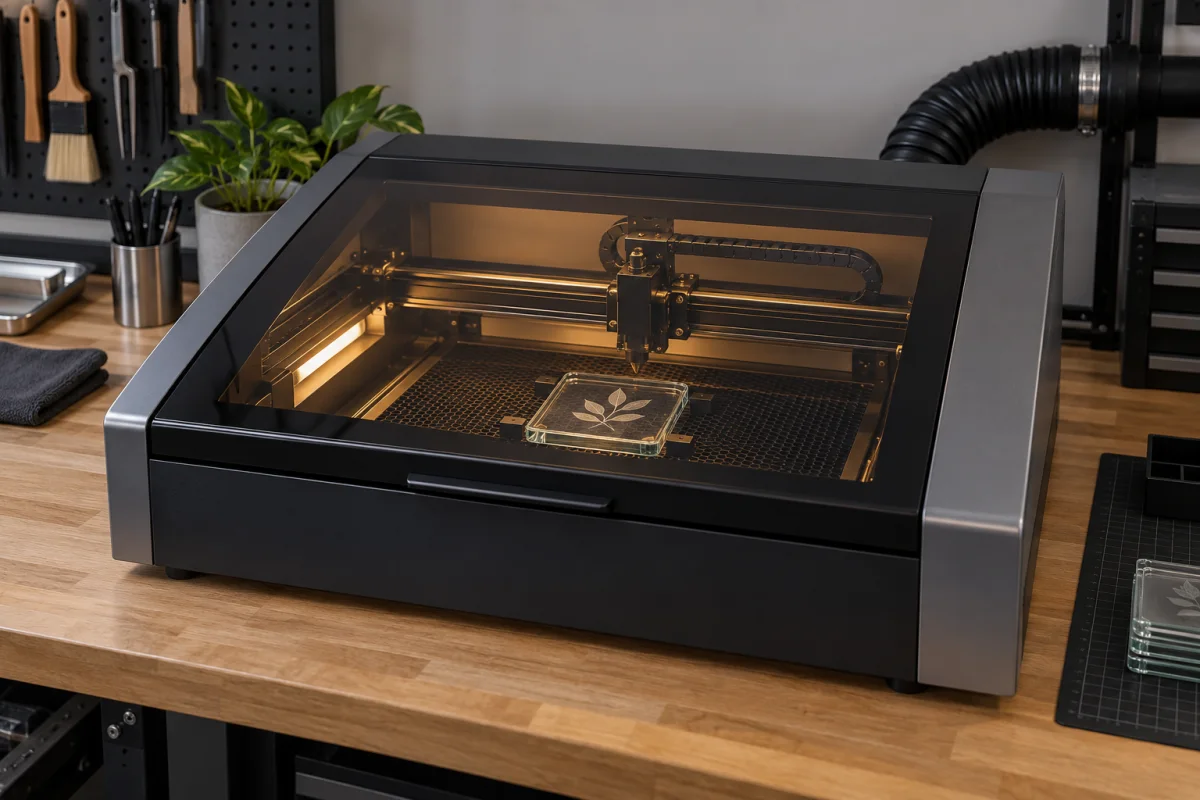
Identify the glass and the laser
“Glass” can mean soda-lime drinkware, lead crystal, a mirror, a coated pane, laminated glass or an unknown container. They do not all respond the same way. A CO₂ machine, diode engraver and fiber laser use different wavelengths and are not interchangeable just because their software offers the same material name.
Before beginning, record:
- The glass type and whether it has a coating, tint, backing, laminate or contents.
- The laser source and model, plus the manufacturer’s material compatibility instructions.
- The focus method and any required rotary attachment for a curved object.
- The enclosure, interlock, extraction and eye-protection instructions for that particular machine.
The Epilog glass-engraving guide describes CO₂ engraving as a surface etching process and explains that other laser types interact differently with transparent glass. This is manufacturer guidance for equipment and material use, not a guarantee for every machine.
Prepare the work without inventing a preset
- Read the machine and material documentation. Use only materials the manufacturer permits. Do not process an unknown coating or filled container.
- Inspect the sample. Set aside glass with cracks, chips, internal damage, or an unknown treatment. Heat can make a defect worse.
- Clean and dry the marking area. Fingerprints or residue can affect a test. Apply only a mask or marking compound if the machine maker documents it for this job.
- Stabilize the piece. Use the approved bed, jig or rotary accessory. A round cup must not roll; check its handle and taper through the entire motion before running.
- Set focus as instructed. Check alignment at the manufacturer’s specified low-risk stage and confirm the design stays within the safe work area.
- Run a small test on a matching spare. Change one documented variable at a time and record the result. A test on different glass is not a reliable prediction for a production piece.
Do not copy a power percentage or speed from another machine, even if both machines have the same stated wattage. A preset from a forum or a different controller is not a validated starting point for your equipment.
What good glass engraving looks like
A controlled engraving often creates a light, frosted mark rather than a deep groove. Inspect the sample after it cools and clean it only as the glass and machine makers allow. Look for even contrast, a crisp edge, no chips extending outside the design and no cracking through the piece.
If the mark looks rough, flaky or unexpectedly dark, do not run the same piece through another pass by default. Repeated heating can spread fractures or soften the visual edge. Stop, review the manual and adjust only within the manufacturer’s documented test method on another sample.
For a cylindrical glass cup, a rotary attachment helps keep the surface and artwork aligned, but setup still depends on the machine, handle clearance, glass diameter and taper. Check the machine’s own rotary instructions before loading the cup. See our existing guide to laser engravers for cups.
For a controlled sample design, our laser engraver test-file guide explains one way to compare marks. Use any test pattern only with the material and procedure approved for your exact machine.
Protect the operator and the shop
Operate the laser with its original safety enclosure and interlocks in place. Keep the required extraction system running, remain with the machine as required by its manual, and follow the manufacturer’s eyewear and fire-safety directions. Never reach into an active machine or bypass a lid switch to watch a mark more closely.
Engraving can create fine particles, and any coating or applied compound may create fumes. Check its safety data and ventilation instructions before use. Keep combustible material away from the work area. Stop if extraction fails, an alarm appears or the material smokes outside the documented process.
This article cannot specify an eye-protection rating or safe exposure distance for an unprovided machine. Use the machine’s classification and manual, the correct protective equipment for that source, and applicable workplace rules.
If the process fails
- The glass stays clear: confirm whether the laser source and wavelength can mark that exact glass, and whether the maker supports a documented marking compound. Do not increase power blindly.
- The mark is uneven around a cup: check rotation, alignment, focus, taper and fixture before changing the mark settings.
- The piece cracks or chips: stop the process. Retest only with an approved method on a fresh, matching sample after reviewing the manufacturer’s guidance.
- Smoke or a coating smell changes: stop the job, keep the enclosure closed as instructed and review the material and compound safety documentation before continuing.
- You cannot identify the glass: do not engrave it until you can confirm that the machine maker permits the material.
Sources checked
- Epilog: Glass Engraving & Etching — laser/material interaction and manufacturer FAQ.
- Epilog: Glassware engraving tips — glass handling, rotary use and testing guidance.
- Epilog: Laser Engraving a Pain in the Glass (PDF) — material-specific testing and heat sensitivity.
A glass engraving decision table
| Workpiece | What changes the process | Before a test |
|---|---|---|
| Flat clear glass | Wavelength, glass formulation and surface response. | Check the machine maker’s direct-marking guidance and use matching scrap. |
| Glassware or a curved cup | Diameter, taper, focus, handle clearance and rotation. | Confirm the rotary attachment, fixture and loading method for the exact machine. |
| Coated, mirrored or unknown glass | A coating or backing may react differently from the front surface. | Identify the layer and verify that the maker explicitly supports the process. |
Before you compare machines
- Identify the glass, coatings and finish before choosing the laser process.
- Follow the exact machine manual for the wavelength, enclosure, lens and approved material.
- Use a secure, repeatable fixture and a small matching test piece.
- Keep the enclosure closed and use the manufacturer-specified exhaust path.
- Record the material batch and change one documented test variable at a time.
Questions worth answering first
Can a diode laser engrave clear glass?
Many common blue-diode lasers transmit through clear glass rather than marking it directly. Some machines support approved surface compounds or methods, but compatibility is model-specific. Check the manufacturer’s material guide instead of relying on a universal workaround.
Is CO₂ better than a diode laser for glass?
CO₂ lasers are commonly specified for direct surface etching of glass, while diode systems vary by wavelength and approved method. Compare manufacturer documentation for your exact source and the exact glass; the name of the laser type alone does not guarantee a clean result.
Can a laser cut through glass?
This article covers surface engraving, not cutting. Do not try to cut glass with an engraving workflow. Follow the equipment maker’s approved applications and use an appropriate process for sheet-glass fabrication.
Why does my laser mark look rough?
Glass type, focus, coating, settings, design density and repeated heating can all affect the surface. Stop before adding another pass; compare the sample with the maker’s guidance and test one documented change on another piece.
Do I need a rotary attachment for glass cups?
A cylindrical or tapered cup usually needs a stable, manufacturer-compatible rotary setup to keep the artwork aligned. Verify diameter, taper, handle clearance, focus and loading steps in your machine manual. --- ---