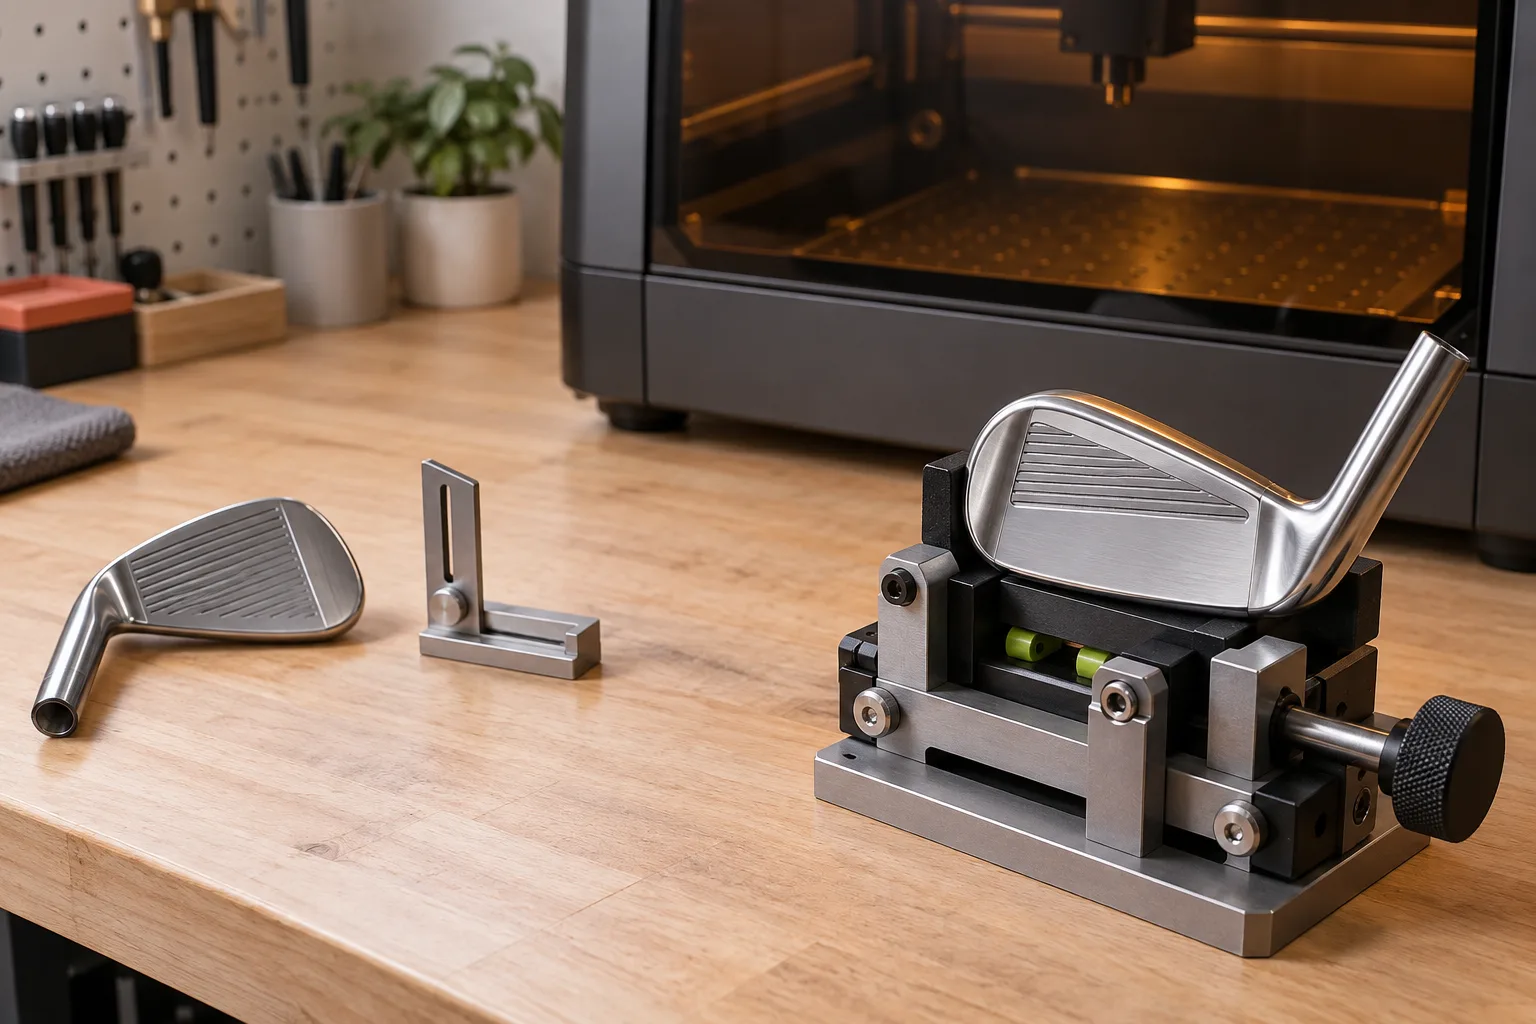
The finish matters more than the club category
A golf club may have paint, plating, anodized or other surface treatments, polished metal, composite material or a textured finish. The laser may be changing a top layer rather than removing bulk material. Ask the manufacturer or refurbisher what finish you are working with before you build a repeatable process.
Keep the mark away from functional faces, grooves, hosels, grips and structural transitions unless the responsible manufacturer explicitly supports the process. A custom mark should not compromise the part’s intended use.
A fixture is part of the machine
Hand-holding a club head is not a production method. Build a fixture that references a repeatable edge, supports the head without scratching it and leaves the mark area visible. The fixture should make it difficult to load the club in the wrong orientation.
Check the laser head’s travel around the fixture, the shaft clearance and the highest point of the head. A small physical mockup can reveal collision problems before the machine is powered. If several club models are in scope, use an adjustable stop with documented positions rather than one vague “fits most” setting.
Registration beats guesswork
Use a low-risk alignment step to locate the mark area before committing to the final pass. A camera can help with visual positioning, but it does not remove the need for a stable fixture and a known reference point. Compare the on-screen outline with a physical test piece.
Start with bold, simple artwork and test the smallest text size you expect to sell. Curvature and glare can make a mark look aligned from one angle and drift from another. Inspect the finished club in the same orientation a customer will see.
Document the customer-facing boundary
Custom golf-club work benefits from a written intake: club type, finish, mark location, artwork approval and any areas the customer wants left untouched. This prevents a decorative request from silently becoming a structural or performance modification.
Keep extraction, cleanup and residue handling within the machine maker’s documented process. The club is a small object, but the heat, coating and fumes still deserve the same controlled workflow as a larger job.
Golf-club engraving checklist
| Decision | What to verify | Why it matters |
|---|---|---|
| Club and finish | Head material, coating and reflective areas. | Determines the documented process. |
| Mark location | Flat, curved, functional or decorative surface. | Sets focus, contrast and risk. |
| Fixture | Stops, support, shaft clearance and orientation. | Makes placement repeatable. |
| Customer approval | Artwork, size and keep-out zones. | Protects the intended use of the club. |
Before you compare machines
- Confirm the head finish and the exact mark location.
- Use a fixture with a repeatable reference and safe clearance.
- Align with a simple test before running the final artwork.
- Record customer approval and keep-out areas before processing.
Questions worth answering first
Can you engrave any golf club?
No. Club finishes, shapes and functional areas vary. The machine and process should be documented for the exact surface, and the mark should stay within an approved decorative area.
Does a camera eliminate the need for a fixture?
No. A camera can help position artwork, but it cannot stop a curved or reflective club head from moving. Stable fixturing remains the foundation of repeatability.
Is a higher wattage always better for golf-club engraving?
Not automatically. A controlled mark on a coated surface may depend more on compatible settings, focus, fixture and cleanup than on the largest watt number.