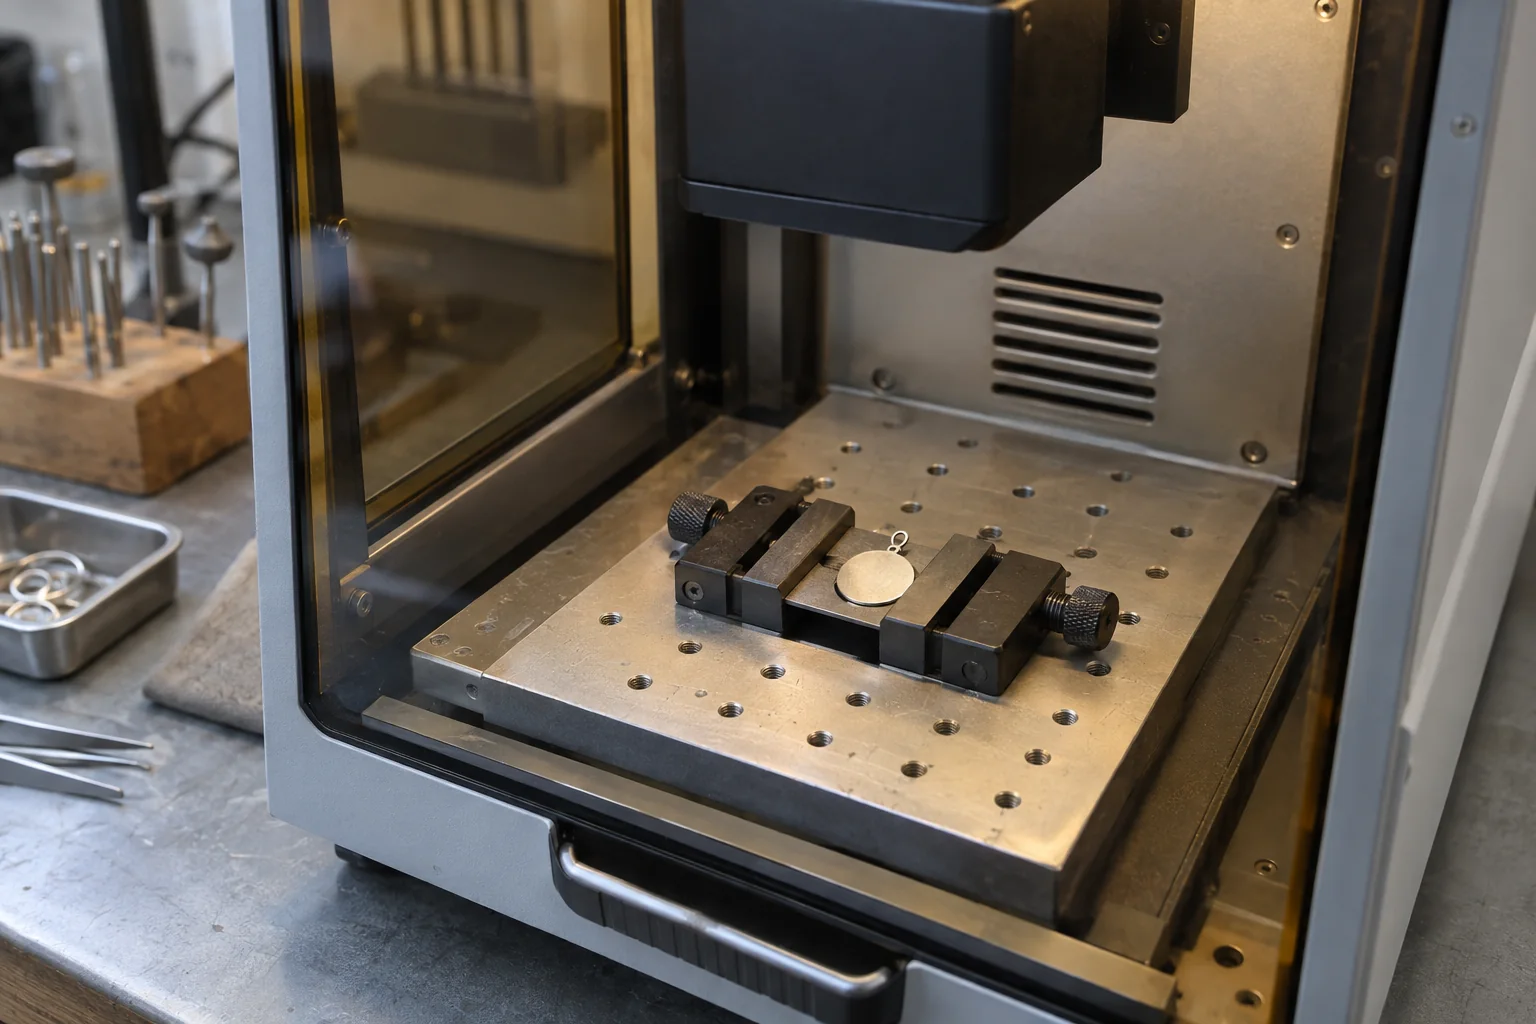
Separate a color mark from engraving
People often use “engraving” to describe several different results: a visible color change on the surface, removal of a coating, or material removal that leaves a recess. These processes differ in appearance, depth and cleanup. Ask what the finished mark must look and feel like before comparing machine specifications.
A supplier’s sample is useful only when you know what material and surface it represents. A result on a plain metal test coupon does not establish how a plated pendant, polished ring or assembled piece will behave. For an overview of metal-marking processes and material examples, see Trotec’s laser-marking guide; its examples are not a substitute for the documentation for your own machine and jewelry.
Identify the alloy, coating and complete assembly
Record the supplier’s description of the base metal and any plating, lacquer, anodizing or other finish. Also note stones, adhesives, enamel, soldered joints and inserts. A finished piece can combine materials that are not covered by the guidance for its main metal. If the composition or coating is unknown, do not use a trial mark to identify it.
Ask the jewelry supplier and machine maker whether the exact combination is documented for the intended process. Confirm what happens to the surface and any nearby components, and how residue is handled. A manufacturer’s jewelry example can help you frame questions, but it remains specific to the machine and process shown; see Epilog’s jewelry workflow example.
Make tiny parts repeatable before optimizing the design
Small jewelry pieces are easy to rotate, tip or place a fraction off-center. Decide how a pendant, tag or ring will sit against a repeatable reference, how it can be clamped without marking it, and whether its curved surface remains within the machine’s documented focus range. A rotary attachment may suit some ring workflows, while a flat fixture may suit other parts; the part geometry and machine instructions decide.
Check usable field size, loading clearance and focus across the actual mark area. For batch work, record the fixture stop, orientation and file version so the next piece lands in the same position. The fiber-laser comparison guide and accessories guide cover broader machine and workholding decisions.
Size the design for the real surface
A design that looks clear on a monitor can collapse on a small ring or curved charm. Measure the usable area after accounting for edges, holes, stones and the fixture. Review the thinnest lines, smallest characters and spacing at the final physical size, then inspect a representative proof under the light in which the piece will be viewed.
Use a sample from the same material and finish when the maker’s procedure allows it. Compare legibility, contrast, edge quality and cleanup against an agreed acceptance sample. Do not assume that a file preview predicts the appearance on polished, coated or curved jewelry.
Treat safety and customer approval as part of intake
Before accepting a job, collect the material description, finish, dimensions, mark location, required appearance and any restrictions around stones or assembled parts. Get approval of the artwork and a physical sample when the result matters. For repeated work, retain the part source, fixture reference, file revision and inspection notes.
Use only the enclosure, interlocks, extraction and operating procedure specified for the exact machine and material. This planning guide is not a laser operating recipe. For wider machine-safety context, start with the stainless-steel marking guide and the manufacturer’s current safety documentation.
Jewelry job intake checklist
| Decision | What to identify | Why it matters |
|---|---|---|
| Material | Alloy, supplier description and traceability. | A broad label such as gold or silver does not identify the complete process. |
| Surface | Plating, coating, polish, stones and attached parts. | Finishes and mixed construction can change compatibility and cleanup. |
| Mark | Color change, coating removal or material engraving; size and location. | Different results need different documented workflows. |
| Geometry | Curvature, fixture reference, focus range and loading clearance. | Small placement errors can make a fine mark unusable. |
| Acceptance | Approved proof, legibility and inspection method. | A repeatable sample gives the customer and shop a shared target. |
Before you compare machines
- Name the exact metal and surface finish; do not infer composition from appearance.
- Record stones, plating, adhesives and other parts of the finished assembly.
- Define the mark type, location and smallest detail at final size.
- Confirm the manufacturer’s documented process and approve a representative proof.
Questions worth answering first
Can a laser engraver mark gold or silver jewelry?
Some laser-marking systems document workflows for precious metals, but suitability depends on the exact alloy, finish, source and desired mark. Confirm the specific machine and material guidance and test an approved representative sample.
Can I engrave a ring with a flat-bed laser?
It depends on the ring’s curvature, the usable focus range and how the machine maker supports that setup. A rotary or purpose-built fixture may be appropriate for some pieces; verify alignment and focus across the intended mark area.
Will the same settings work on plated and solid jewelry?
Do not assume so. Plating and coatings change the surface being processed, and a result on one finish does not establish a workflow for another. Use only machine-maker guidance for the exact material and process.
What should I ask before accepting a custom jewelry job?
Ask for the material and finish, a description of nearby stones or components, the mark location and size, the required appearance, and approval of a physical sample when possible.