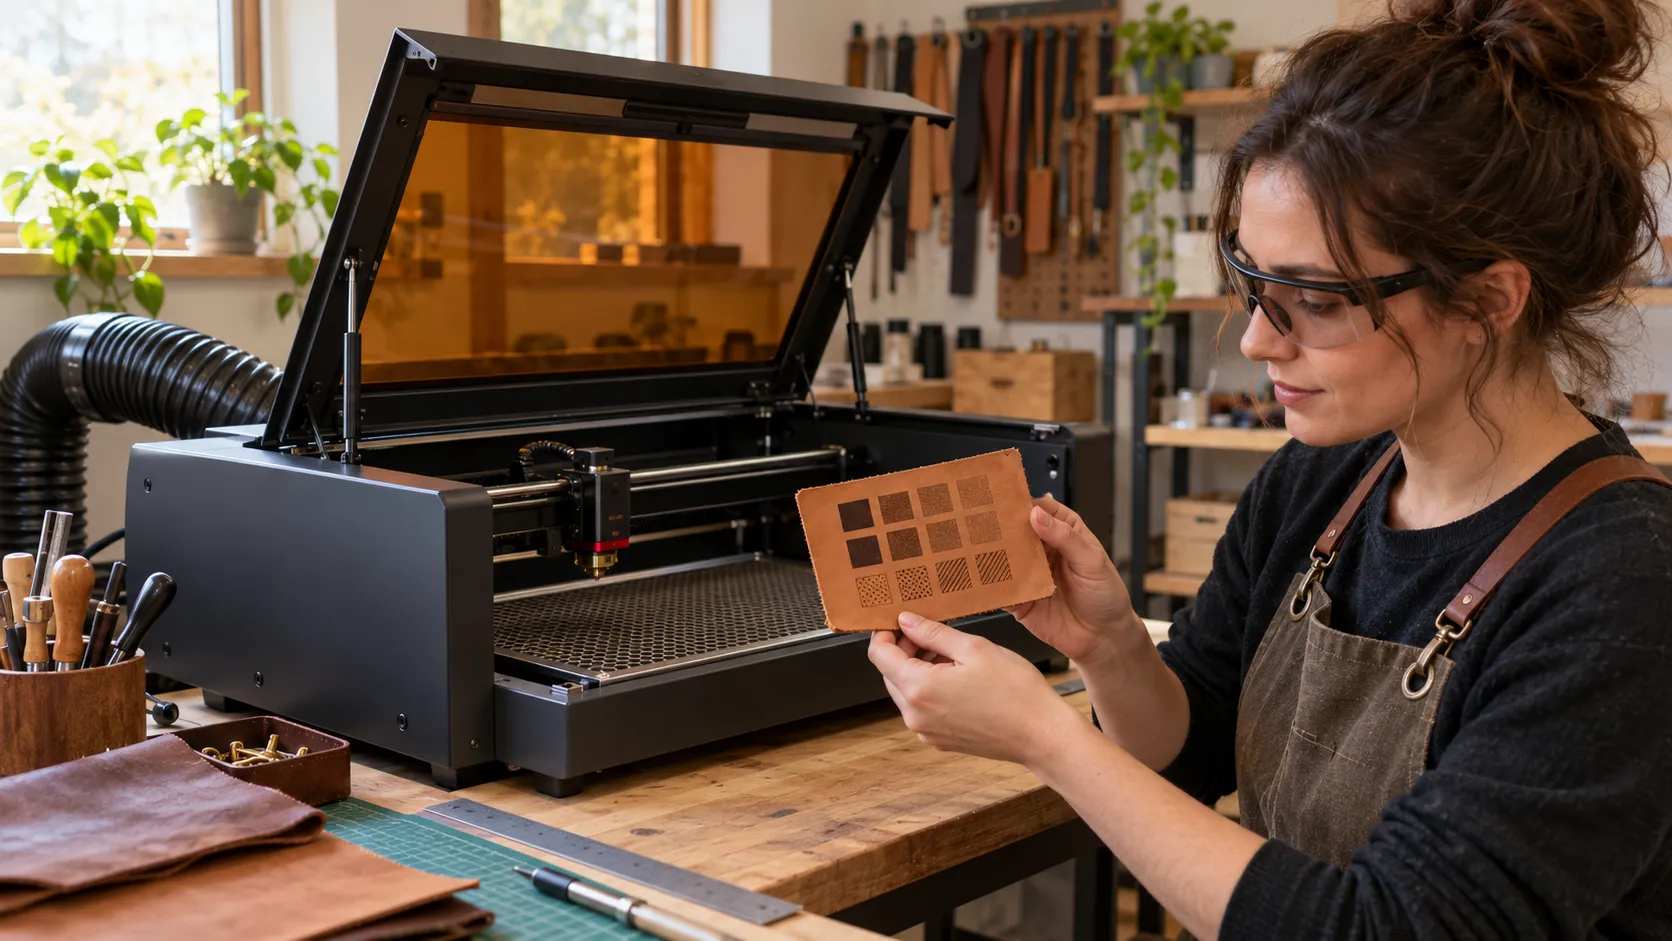
Check the material before opening the laser
“Leather” may mean vegetable-tanned hide, chrome-tanned leather, coated leather, or synthetic material. A surface that looks like leather may contain plastics or other additives. Ask the supplier for a clear material description and, when available, a safety data sheet. If you cannot verify what it is, do not engrave it.
Check the exact machine documentation too. OMTech’s safety information, for example, lists some leather for its machines while warning against artificial leather containing hexavalent chromium and materials containing chlorine such as PVC. That guidance applies to the listed equipment; it should not be generalized into a compatibility list for every laser.
Keep the enclosure, interlocks, exhaust, fire precautions, and required protective equipment in place. Do not run a laser unattended or if its exhaust is not working. Follow local rules and the machine maker’s instructions.
Make a repeatable settings test
- Use offcut material from the same batch. A different hide or finish may respond differently.
- Flatten and secure a small coupon. Use a fixture or masking method only if your manual approves it.
- Set focus and extraction by the manual. Record the lens, focus method, material thickness, and machine model.
- Create a small matrix within the maker’s documented range. Change one parameter at a time. Do not copy percentages from a different machine or forum post.
- Stay present and watch the process. Stop if flame, unexpected smoke, unusual odor, or an exhaust fault occurs. Use the machine’s emergency procedure when needed.
- Inspect after the piece cools. Compare contrast, edge quality, surface charring, and consistency. Choose the least aggressive result that meets the design goal, then verify it on another matching scrap piece.
- Save the recipe with the material details. Record the leather source, type, finish, machine and lens, focus, documented settings, extraction, and test outcome.
A test matrix is a way to compare approved combinations; it does not make an unknown material safe. Keep the test small enough that you can stop quickly and avoid cutting through the leather unless the manufacturer separately approves that operation.
Common problems and adjustments
- The mark is faint: recheck focus, surface coating, material type, and whether the maker documents a marking method before increasing energy.
- The leather chars heavily: stop and review the material and ventilation guidance. Do not keep repeating passes on the same piece.
- The mark varies across the sample: check whether the material is flat, focus is consistent, and the surface finish changes across the area.
- The machine produces unusual fumes: stop. Ventilate according to the machine’s emergency guidance and do not continue until the material is identified and the exhaust issue is resolved.
Related LaserBench guides
Use our laser engraver test-file guide to plan a controlled comparison. Review laser engraver accessories and the machine maintenance guide before the next job.
Sources
- OMTech: Laser material safety — material exclusions, exhaust and PPE, for a specified machine.
- OMTech: Leather laser engraving tips — test runs and material variability.
Variables to hold and change in a leather test grid
| Variable | Hold steady | Change only when documented |
|---|---|---|
| Leather | Same identified hide or batch | A different material only after compatibility is confirmed |
| Setup | Machine, lens, focus and fixture | One permitted test variable at a time |
| Result | Same sample size and viewing conditions | Mark contrast, residue and surface change |
Before you compare machines
- Identify the leather and any coating before turning on the laser.
- Check the exact machine manual for allowed materials and exhaust requirements.
- Use matching scrap and a small test grid within the manufacturer’s documented range.
- Stop if fumes, charring or material response differs from the manual’s guidance.
Questions worth answering first
What are the best laser engraving leather settings?
They depend on the exact machine and leather. Use the maker’s approved range and build a controlled test on matching scrap rather than adopting a generic online preset.
Can I laser engrave faux leather?
Only if you can identify its composition and the laser manufacturer explicitly permits that material. Some artificial leather contains compounds that should not be processed in a laser.
Should I wet leather before engraving?
Do not add moisture unless the machine and material guidance explicitly recommends it for the identified leather. Techniques from another machine or material may create smoke, uneven marks, or damage.
Why is my leather engraving too dark?
Material finish, focus, settings, and repeated exposure can change the result. Stop, review the documented range, and test one adjustment on a fresh, matching offcut.