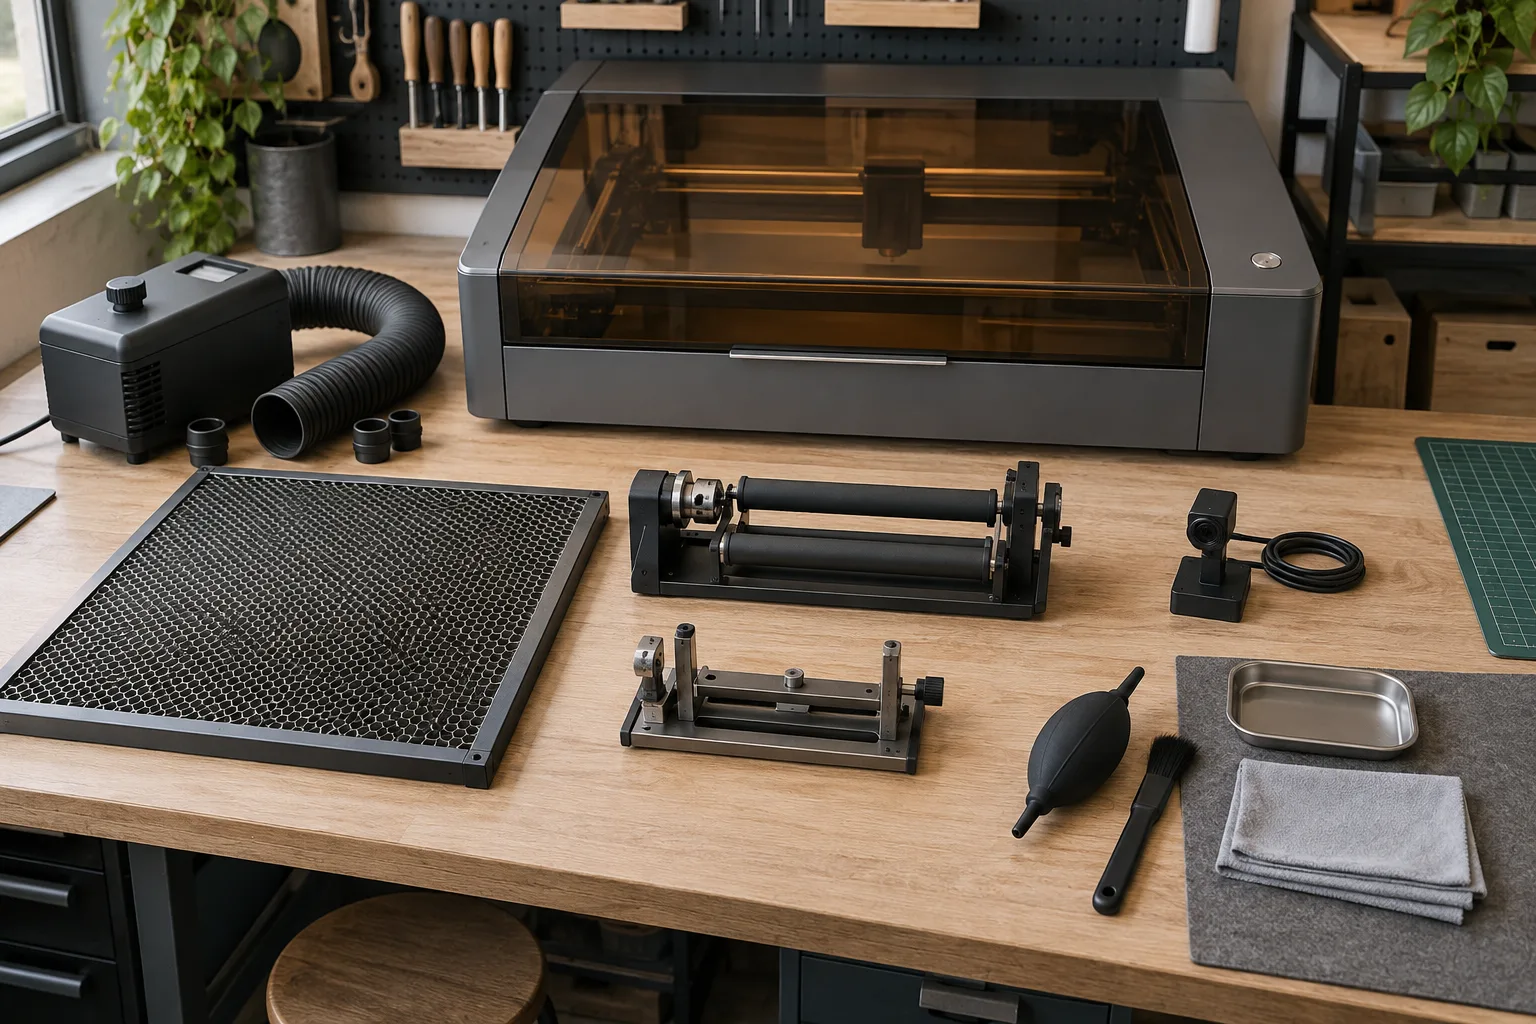
Our honeycomb bed picks
We picked two ACMER honeycomb panels for open-frame diode machines. We haven't tested them, and the product details we can confirm are limited to the product names and the sizes stated below. Material, frame, hold-down pins or magnets and what comes in the box are not confirmed here, so check the size variants and what's included on the listing before you order.
For 400 mm-class diode machines: ACMER honeycomb laser bed (400 × 400 / 440 × 440 mm)
The listing names two sizes, 400 × 400 mm and 440 × 440 mm. That suits machines with roughly a 400 × 400 mm work area, as long as the panel fits between the frame's feet or inside your enclosure. Measure first, pick the variant that fits, and confirm the material and what's included on the listing.
Brand alternative: ACMER universal honeycomb panel "Protection Kit"
A universal honeycomb panel sold in several size variants. Choose the variant from your own measurements (see the size table below), and check the listing for the panel size, height and what the kit includes before you order.
Building out the rest of the bench as well? Our laser engraver accessories guide covers the parts that make a machine usable, from fixtures to rotary tools.
Honeycomb laser bed: what it is and when you need it
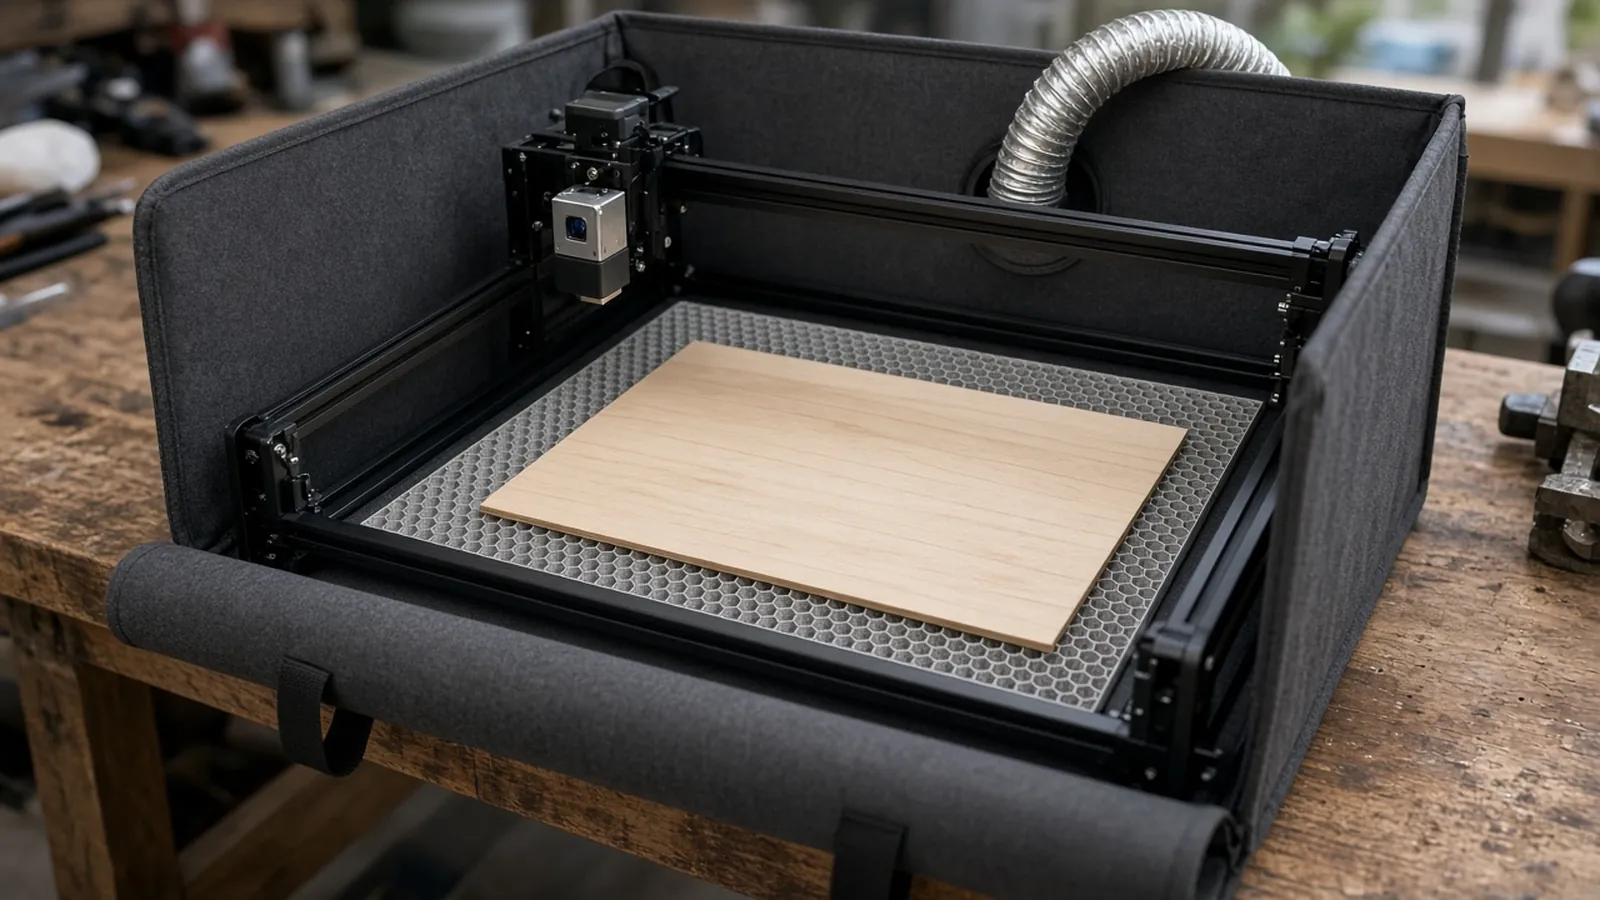
"Bed," "mat" and "honeycomb" are often used as if they mean one part. They describe different roles in a laser setup:
- The bed is whatever supports the work inside the machine's work area. On many enclosed machines it's built in; on many open-frame diode machines it's just your table unless you add something.
- A honeycomb panel is one kind of bed: a grid of thin cells, usually in a frame, that holds the material on many small edges with air underneath.
- A knife or blade bed (a slat table) supports the work on a row of thin vertical strips.
- A mat may be a sacrificial or protective layer, but sellers use the word loosely. It can mean anything from a purpose-made board to a silicone sheet that was never meant to go under a beam.
- A fixture is a stop, jig or clamp that locates a part and reduces movement. It's not a bed, though you'll often use one on a bed.
When a honeycomb bed helps:
- Cutting through. When the beam exits the bottom of the material, it needs somewhere to go other than your table. The open cells give it that space, and they let smoke and residue escape below the cut. Trotec describes its honeycomb cutting table as a good compromise between grid and slat tables, with dense support for less rigid material such as thin plastic, card and paper (Trotec Speedy 360 datasheet).
- Protecting the surface underneath. With an open-frame diode, cutting directly on a workbench marks the bench. A honeycomb bed keeps the cut point away from it.
- Thin and flexible sheet. The many cell walls give card, veneer, felt and fabric even support so they lie flat.
When you may not need one: if you only engrave the surface of thick blanks, such as coasters, cutting boards or slate, any flat, level, non-flammable support your machine maker approves will do. A honeycomb bed doesn't hurt here, but it isn't what makes the result good.
What it won't do: a honeycomb bed doesn't make a material safe to process, doesn't replace an enclosure or extraction, and doesn't stop every reflection. On machines powerful enough to cut, some energy can bounce off the cell walls and leave small marks on the underside. Thunder Laser's support article on reducing cutting burn marks explains this and suggests raising the material slightly or using a knife bed.
How to choose a honeycomb bed (size, depth, steel vs aluminium, magnets/pins)
1. Size: cover the area you use, then check the fit
Measure two things: the machine's usable work area (the area the laser head can reach) and the free space where the bed has to sit. On an open-frame diode machine, that's the space between the frame's feet or legs. In an enclosure, it's the floor of the enclosure. The panel should cover the area you actually cut in, and it must fit the free space without the frame resting on its edge. A panel that's slightly larger than the work area is handy if it still fits, because parts near the edges stay supported.
2. Depth (height): plan for the focus change
A honeycomb bed adds its own height plus the height of any frame or feet. Everything you put on it sits higher, so the focus distance changes. Check whether your machine can still focus at that height. Options include an adjustable or autofocus head, raising the whole machine on risers, or sliding the bed under a machine that's already raised. Some makers specify an exact riser and panel setup. xTool's M1 riser-base guide is one model-specific example, not a universal rule. Check the manual for your own model.
3. Cell size
Smaller cells give more support points, which helps with small parts and thin material. Trotec notes that fine-cell honeycomb is more stable and stops small parts dropping between cells, while larger cells mean fewer contact points and fewer back reflections, but less support (Trotec engraver's handbook). Cell size is often listed for each product; if it isn't, ask the seller or check the listing photos.
4. Steel vs aluminium
Listings vary, and you should check what's stated for the product you choose rather than assume. In general terms:
- Magnets only stick to steel. If you want to hold thin sheet down with magnets, the honeycomb (or the plate under it) needs to be ferromagnetic.
- Aluminium doesn't rust and is lighter, but magnets won't grip it.
- Steel can rust if it's left wet after cleaning, so dry it thoroughly.
5. Hold-downs: magnets, pins or clips
Warped plywood and thin card lift as they heat, which throws the focus off and can let a cut part shift. Common hold-down options are magnets (steel beds only), pins pushed into the cells, and clips at the panel edge. Whether a given kit includes any of these varies, so check what's included on the listing.
6. Frame and edges
Look for a frame that's flat and rigid enough to keep the grid level, and edges that won't catch on the gantry or enclosure walls. If you plan to slide the panel out for cleaning, check there's room to do it.
If you're comparing complete kits, the ACMER universal honeycomb panel "Protection Kit" comes in several size variants. Match the variant to the measurements above and check what the kit includes on the listing.
Honeycomb laser bed size by work area
Use your machine's stated work area as the starting point, then measure the free space under the frame or inside the enclosure. The panel sizes below are common listing sizes, not a guarantee that a given panel fits a given machine.
| Machine work area (approx.) | Typical machines | Honeycomb size to look for | What to check | Shop |
|---|---|---|---|---|
| Up to about 300 × 300 mm | Compact open-frame diodes and small enclosed desktop machines | A panel that covers the work area and fits inside the frame or enclosure | Free space between the feet; whether the machine has a built-in bed | – |
| About 400 × 400 mm | Many mid-size open-frame diode machines | 400 × 400 mm, or about 440 × 440 mm if it fits for extra edge support | That a 440 mm panel clears the frame's feet; focus range after adding the bed height | Check price |
| Larger or extended (e.g. 400 × 800 mm and up) | Large-format diodes and extension-kit machines | One large panel, or two panels side by side | Panels sitting at exactly the same height; weight and storage | – |
| Enclosed CO2 or fully enclosed machines | Machines with a built-in bed or table | The maker's own honeycomb or replacement panel | Exact fit, autofocus and Z-height; use the maker's part if one is specified | – |
Honeycomb vs knife bed vs mat
| Honeycomb bed | Knife (blade) bed | Mat / sacrificial sheet | |
|---|---|---|---|
| Best for | Cutting thin to medium sheet; general-purpose diode work | Cutting thicker or rigid sheet and larger parts | Engraving only, where the maker documents the surface |
| Support | Many small contact points; good for thin, flexible material | Few contact points; small parts can tip or fall between blades | Full contact; supports anything |
| Underside marks when cutting | Possible, from reflections off the cell walls | Usually fewer, because less material touches the support | Not designed for through-cuts; the beam hits the mat |
| Airflow under the cut | Good: smoke can escape through the cells | Good: open space between blades | Poor: nothing below the cut |
| Small parts | Better with fine cells | Can drop between blades | Stay in place |
| Cleaning | Residue builds up in the cells; needs regular cleaning | Blades are easier to wipe or remove | Replace when marked or damaged |
| Main caveat | Raises the work; refocus after installing | Fewer machines ship with one; check fit | Only use a material the maker documents as safe under the beam |
The trade-off between contact points and support comes from both Trotec's table guide and Thunder Laser's burn-mark article, which also suggests laying blades on top of a honeycomb for cuts that need fewer contact points.
Treat mats and added surfaces as machine parts
Don't put a generic silicone, rubber, plastic, foil or coated sheet under a laser because an online listing calls it a "laser mat." Material composition, surface finish, reflected energy, heat behavior and the machine's own instructions all matter. Use only a surface the machine maker documents for the exact laser and task, and never process an unidentified material. Our plastic guide explains why material identification matters.
Protective surfaces need inspection too. Look for residue, warping, loose edges and damage that could change the focus plane or obstruct movement.
Measure clearance before ordering
Record the inside bed dimensions, panel footprint and thickness, focus range, usable Z-height, riser requirements and the tallest fixture or workpiece. Include cables, clamps, rotary attachments and the lid or enclosure. A panel that fits the outside dimensions can still sit too high, cover a sensor or leave too little room for the work.
Ask the manufacturer whether installing a panel changes autofocus, material-height measurement, exhaust flow or supported accessories. If a change makes the documented setup unclear, ask before operating.
Keep the extraction path open
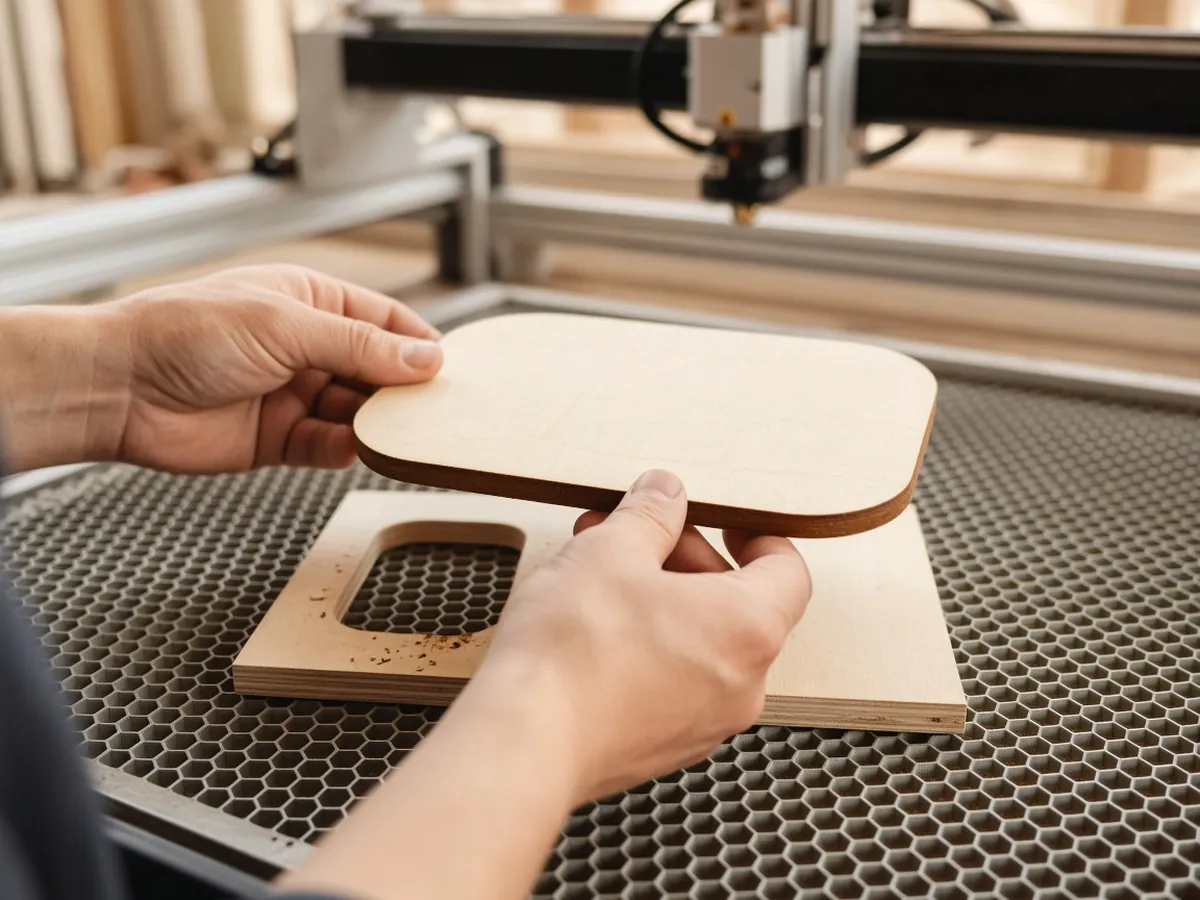
A honeycomb bed lets smoke move below the cut, but it doesn't remove it. Keep the machine's intended extraction and cooling paths clear, and don't block a vent with the panel, a riser or a stack of offcuts. Our laser engraver exhaust system guide covers source capture and duct planning, and the laser engraver cover guide covers enclosures and airflow. Neither a bed nor a mat replaces the specified enclosure and extraction.
How to clean a honeycomb laser bed
Residue builds up in the cells, especially after cutting resinous wood and MDF. FLUX recommends cleaning its honeycomb panel after each job, because debris collecting in and under the cells can become a fire hazard (FLUX Help Center). A routine that works for most panels:
- Power the machine off and let everything cool.
- Remove the panel if it lifts out, and clear any small offcuts trapped in the cells.
- Vacuum or brush loose dust and char from the cells and from the surface underneath.
- For sticky residue, use the cleaner your machine or bed maker recommends. If there's no guidance, mild soapy water or a degreaser and a soft nylon brush are a gentle start. Avoid caustic cleaners such as oven cleaner on aluminium, and avoid narrow high-pressure jets that can bend the thin cells.
- Rinse and dry completely before you put the panel back. Water left in the cells can rust a steel bed and drip onto the machine.
- Check it's still flat. Bent cells or a warped frame change the focus height across the bed. Replace a damaged part instead of compensating with improvised shims.
After installing or moving a bed, run only the maker-approved checks for clearance, focus and movement before preparing a finished part. A camera preview or outline can help with placement, but it doesn't confirm that a support is level or that a workpiece will stay still. See the camera guide for alignment limits, and add the bed to your machine maintenance checklist.
Bed, mat and fixture checks
| Part | What it does | What to verify |
|---|---|---|
| Machine bed | Supports the workpiece within the designed work area. | Exact model fit, level, focus range and maker-approved operation. |
| Honeycomb or slat panel | Provides a particular support pattern beneath the material. | Panel height, footprint, airflow and cut-through compatibility. |
| Sacrificial mat or sheet | May protect a surface in a documented workflow. | Material, laser compatibility, heat behavior and whether the maker permits it. |
| Fixture or stop | Locates a part for alignment or repeat work. | Secure fit, head clearance, focus height and repeatable reference. |
| Added riser | Changes work height or usable clearance. | Focus/autofocus limits, lid clearance and supported accessory combinations. |
Checklist before you buy a honeycomb laser bed
- Decide whether the job is engraving, cut-through work or repeatable part marking.
- Check the exact machine manual before choosing a panel, mat, riser or fixture.
- Measure the work area, the free space under the frame or in the enclosure, the focus range and the lid clearance.
- Decide whether you need magnets (steel) or prefer a lighter, rust-free panel (aluminium), and confirm the material on the listing.
- Check the size variants and what's included on the listing before you order.
- Use only documented materials beneath the work; don't improvise with an unknown sheet.
- Keep the extraction path open and add bed cleaning to your routine.
FAQ
What is a honeycomb laser bed used for?
A honeycomb laser bed supports material on a grid of thin cells with open space underneath. It's mainly used for cutting through sheet material, because the beam, smoke and heat exit into the cells instead of hitting a solid surface, and it keeps the cut away from the table below.
Do I need a honeycomb bed for every laser engraver?
No. It's most useful for cutting through sheet material. For surface engraving on thick blanks, a flat, level surface your machine maker approves is enough. Check the maker's support guidance for your exact model, especially when cutting through material or changing the work height.
What size honeycomb bed do I need?
Pick a panel that covers the area you actually use and fits the free space between the machine's feet or inside the enclosure. For a machine with roughly a 400 × 400 mm work area, a 400 × 400 mm panel, or about 440 × 440 mm if it fits, is a common choice. Measure before ordering, and refocus after installing it.
Is a honeycomb bed or a knife bed better?
It depends on the job. A honeycomb bed gives more support for thin and flexible material and small parts. A knife bed touches the work at fewer points, which usually means fewer underside marks on thicker, rigid sheet, but small parts can tip or fall between the blades.
Should a honeycomb laser bed be steel or aluminium?
Choose steel if you want to hold work down with magnets, because magnets don't stick to aluminium. Aluminium is lighter and doesn't rust. Listings vary, so confirm the material stated for the product you pick.
Can I put a mat under a laser engraver?
Only if the manufacturer documents that mat material and arrangement for the exact machine and operation. A marketplace label is not evidence of laser compatibility.
Is a laser bed the same as a fixture?
No. A bed supports work within the machine; a fixture or stop locates a particular part. A setup may use both when the machine maker supports the combination.
Does a honeycomb panel protect the machine from every reflection or burn?
No. It changes the support surface but doesn't make every material or process safe, and reflections off the cell walls can still mark the underside of a cut. Follow the machine's material, guarding and extraction instructions and inspect the work area.